This page helps you configuring your biometric machines to connect with the web server. The following screens are taken from CAMS biometric machines. Some of the machines of ZKTeco will also same as CAMS machines. In the following examples we have shared has screens of two different versions. If you have different software than what we have captured below, then you can find the closest meaning options to check if you get the similar options.
Network Configuration
Step 1:
Please follow the below steps:
- Connect ethernet cable to the machine and make sure you have an active internet connection.
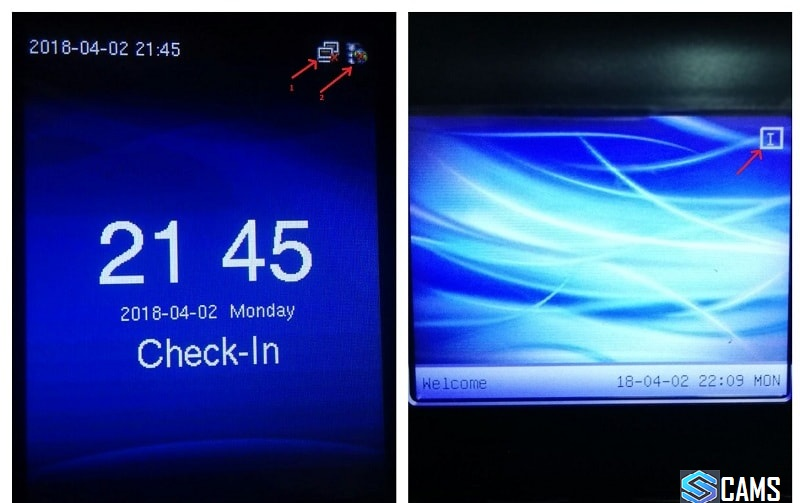
- Switch on the machine and the main screen will look like this picture below.
Step 2:
- Go to the menu screen by clicking menu button.
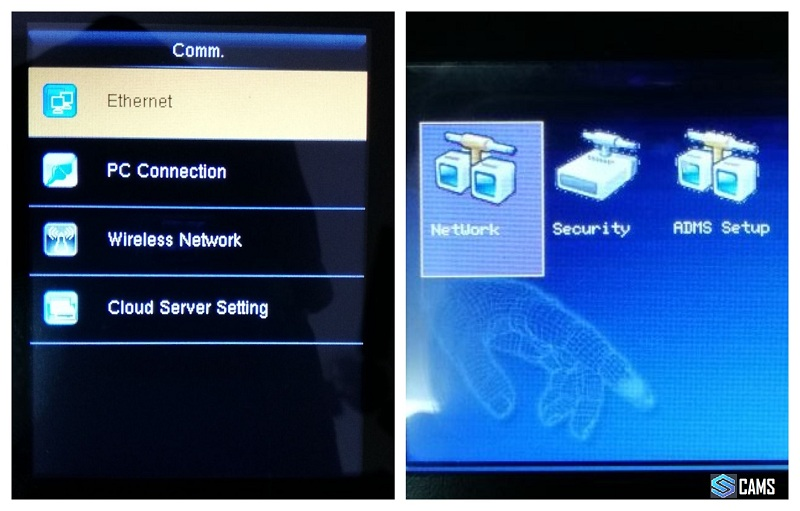
- And then click the COMM menu in the menu list.

Step 3:
- If you have a menu like this picture below click the Ethernet or Network option.
Step 4:
- Check the IP adrress, Subnetmask, Gateway, DNS adrress is same as your local internet connection.
- To check local internet configurations please follow Step 5.

Step 5:
- In your computer,click the Start button and type "command" in the search bar and click Enter.

Step 6:
- In your Command prompt screen type "ipconfig /all" without quotes and then click Enter.

Step 7:
- After that, check your home screen if your machine is connected to the internet.
- The connected symbol will look this picture below.

Server Configuration
Step 1:
- Go to the menu screen by clicking menu button.
- And then click the COMM menu in the menu list.
Step 2:
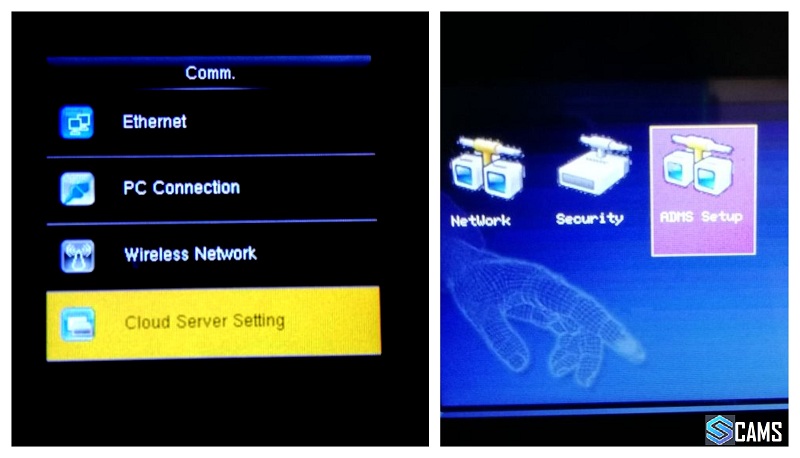
- If you have a menu like this picture below click the Cloud server setting or ADMS Setup option.
Step 3:
- After clicking Cloud server setting or ADMS Setup option ,the screen look as picture below.
Step 4
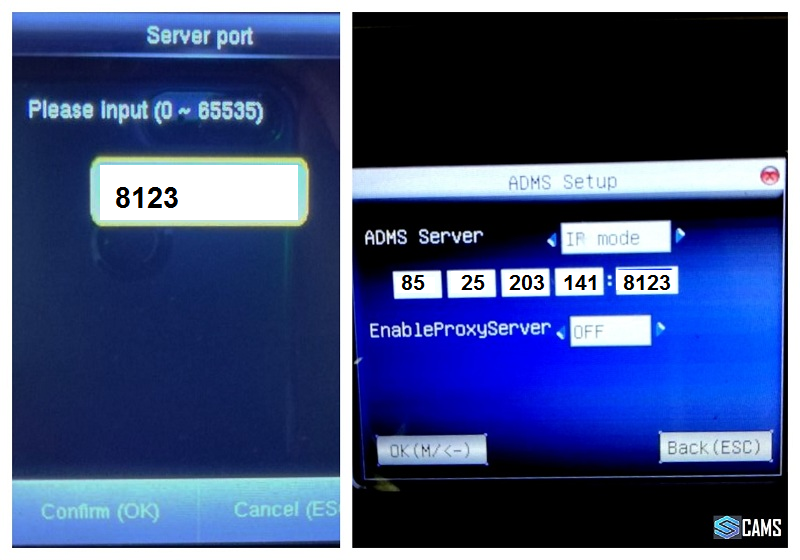
- Press the IP Adrress option and Change the IP Adrress as 85.25.203.141 and then press OK.

Step 5
- Press the Server Port option and Change the Server port as 8123 and then press OK. (This is only for developer application. If you have purchased any API and wanted to connect with real application, the port should be 80)
Step 6
- After Pressed OK click ESC option and go to the Home screen.
- If your machine is connected to the server the icon in the home scree look like the picture below.